Making the Scarf
 At this point, you gotta have a little faith that this is all going to work out. I built a scarfing jig, pretty much following Nick Schade's instructions in his book. I ripped a straight 2x scrap at a 10 degree angle. I then mounted it to a piece of plywood at an angle. I used about a 7.5 to 1 ratio to create the angle to the blade. I mounted the board so that the angled face tilted the workpiece toward the blade. I then mounted the cuttoff from the ripping operation to form a right angle for the work piece to sit on. I haven't taken pictures of the jig yet, but I will soon and post them. These instructions are for a right hand feather. If you are left handed, you need to do things in a mirror image.
The only deviation from Nick's instructions is that I didn't put the runner on the bottom to run in the miter slot. I just ran the board up against the fence and it worked fine. The table saw blade is vertical for this cut. The jig provides all the angles. Make sure you scarf the end with the hollow, or you will have to start over. Also, if your shaft blank is rectangular as opposed to square, you need to make sure that one blank is cut with the long axis vertical, and one with the long axis horizontal. This ensures that the ovals will line up correctly in the final shaft.
I did multiple dry runs before gluing up. There is not much to reference and the angles look very, very strange, but it works. The main thing is to make sure it is straight. The double lines that I drew on before scarfing helped. They will be used later as a guide for rounding the shaft.
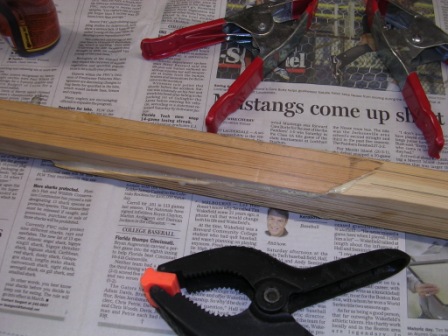
Here is another shot to show the strange angles.
posted by Mike at 5:00 AM
![]()

0 Comments:
Post a Comment
<< Home